
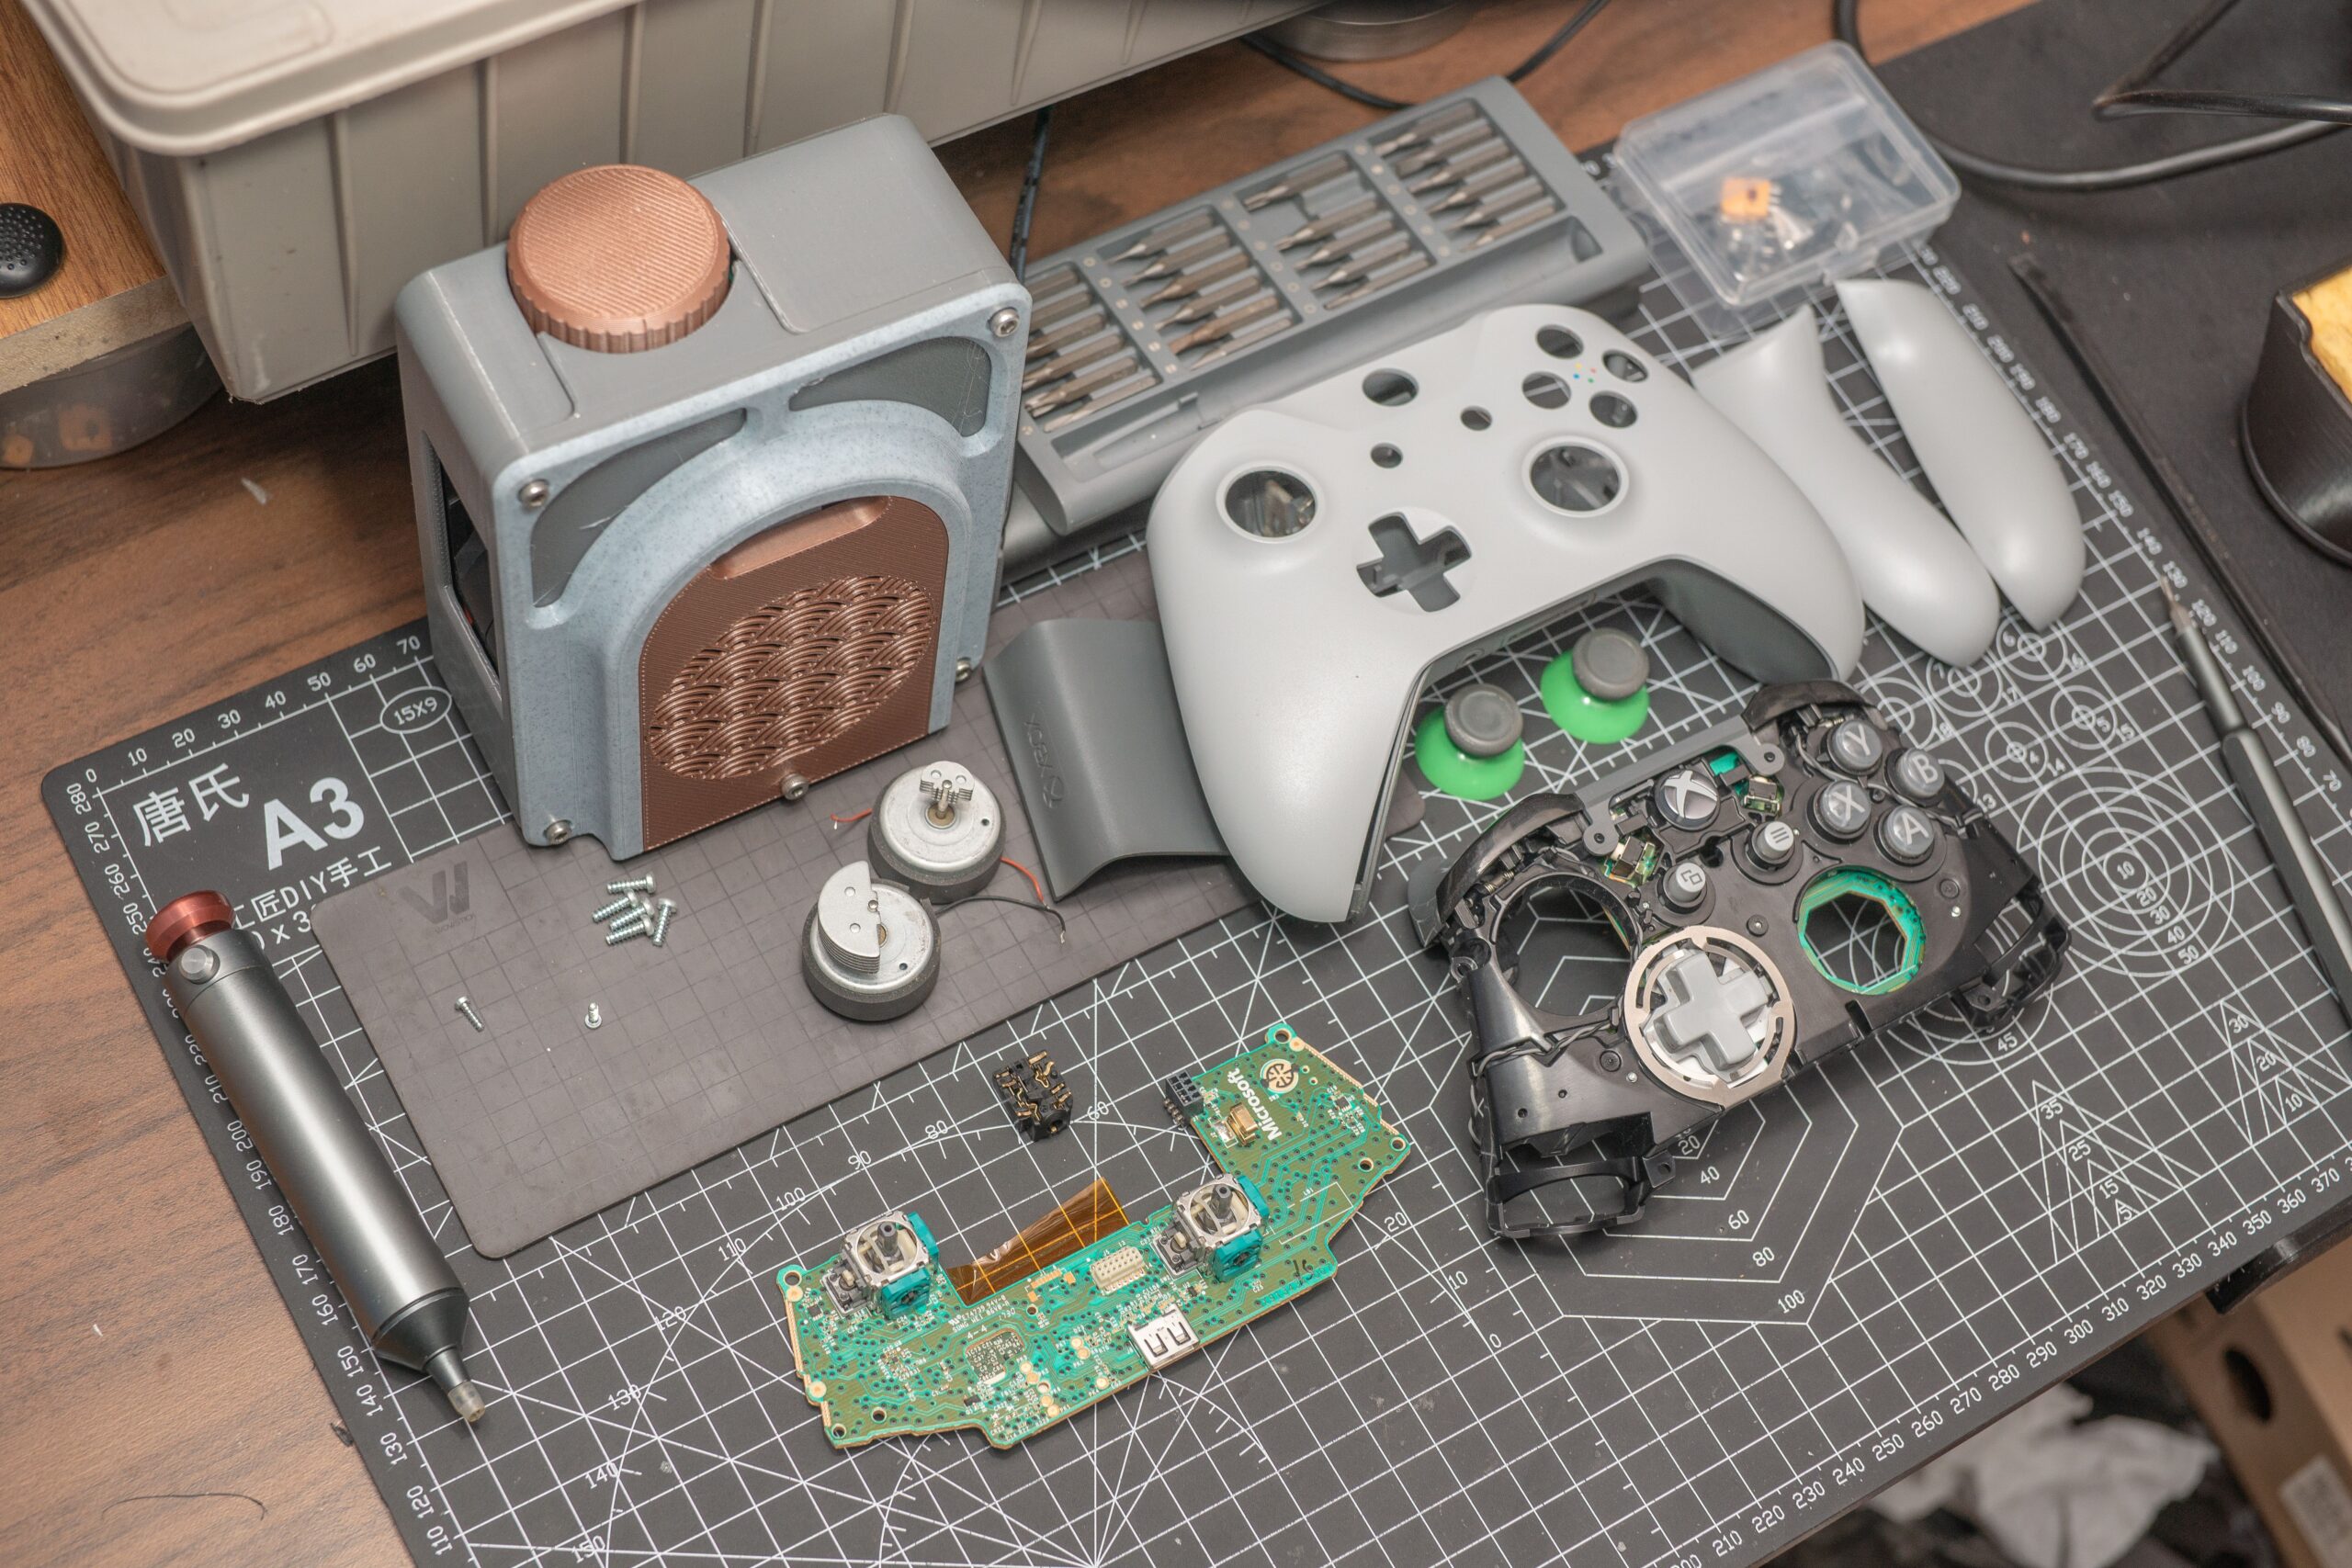
A missing battery cover, a broken camera stand or a cracked plastic mounting clip can turn a perfectly functional electronic device into something frustrating to use. The electronics may work flawlessly, but one small plastic component makes the entire product difficult to handle.
Finding a replacement is not always easy, particularly for older devices. Manufacturers may have discontinued the part, or the only available replacement could be an expensive assembly containing components you do not need.
3D printing offers another possibility. With accurate measurements, suitable plastic and a basic 3D model, many small replacement components can be manufactured at home.
However, not every plastic component is suitable for printing. The safest place to begin is with external covers, knobs, stands and other parts that do not protect users against electrical or mechanical hazards.
Which Broken Electronic Parts Can You Replace With a 3D Printer?
Start by identifying what the broken component actually does. A plastic cover that keeps dust away has different requirements than a component protecting someone against electric shock.
Some parts are excellent candidates for printing. Others should be replaced with genuine manufacturer components.
Repair specialists at iFixit have documented how 3D printing can help replace discontinued components, including a broken camera gear. Their account also explains why material strength and accurate dimensions can make an apparently simple repair more complicated.
Step 1. Examine the Broken Part Before Removing It
Suppose the battery cover on an old television remote has snapped. The cover still exists, but one of its retaining tabs has broken away.
Before making a replacement, inspect the remaining plastic. The location of the broken tab reveals how the cover originally attached to the remote.
Look for small hooks, grooves, screw holes and contact surfaces. Photograph the component beside a ruler, including its underside.
If part of the original component is missing, examine the corresponding opening on the device. You may be able to reconstruct the missing shape using the surrounding dimensions.
Keep every fragment until the replacement is finished. Even a broken piece can provide valuable measurements.
Step 2. Measure the Part With Digital Calipers
Accurate measurements are especially important for electronic enclosures because several parts need to fit together.
A ruler may be sufficient for measuring the overall length of a simple cover, but digital calipers are useful for smaller features.
Record the following dimensions.
- Overall length and width. The dimensions of the part.
- Thickness. The depth of the plastic and any raised sections.
- Attachment points. The positions of hooks, clips and screw holes.
- Clearance. The available space between the part and surrounding components.
- Curved surfaces. Any rounded edges required for a proper fit.
For example, imagine a remote battery cover measuring 45 mm long, 25 mm wide and 2 mm thick. Its retaining tab extends another 4 mm.
Those hypothetical dimensions provide enough information to begin a model, but the tab will probably need additional testing.
A difference of half a millimeter can determine if a clip holds securely or falls out immediately.
Step 3. Create a Replacement Model Using CAD Software
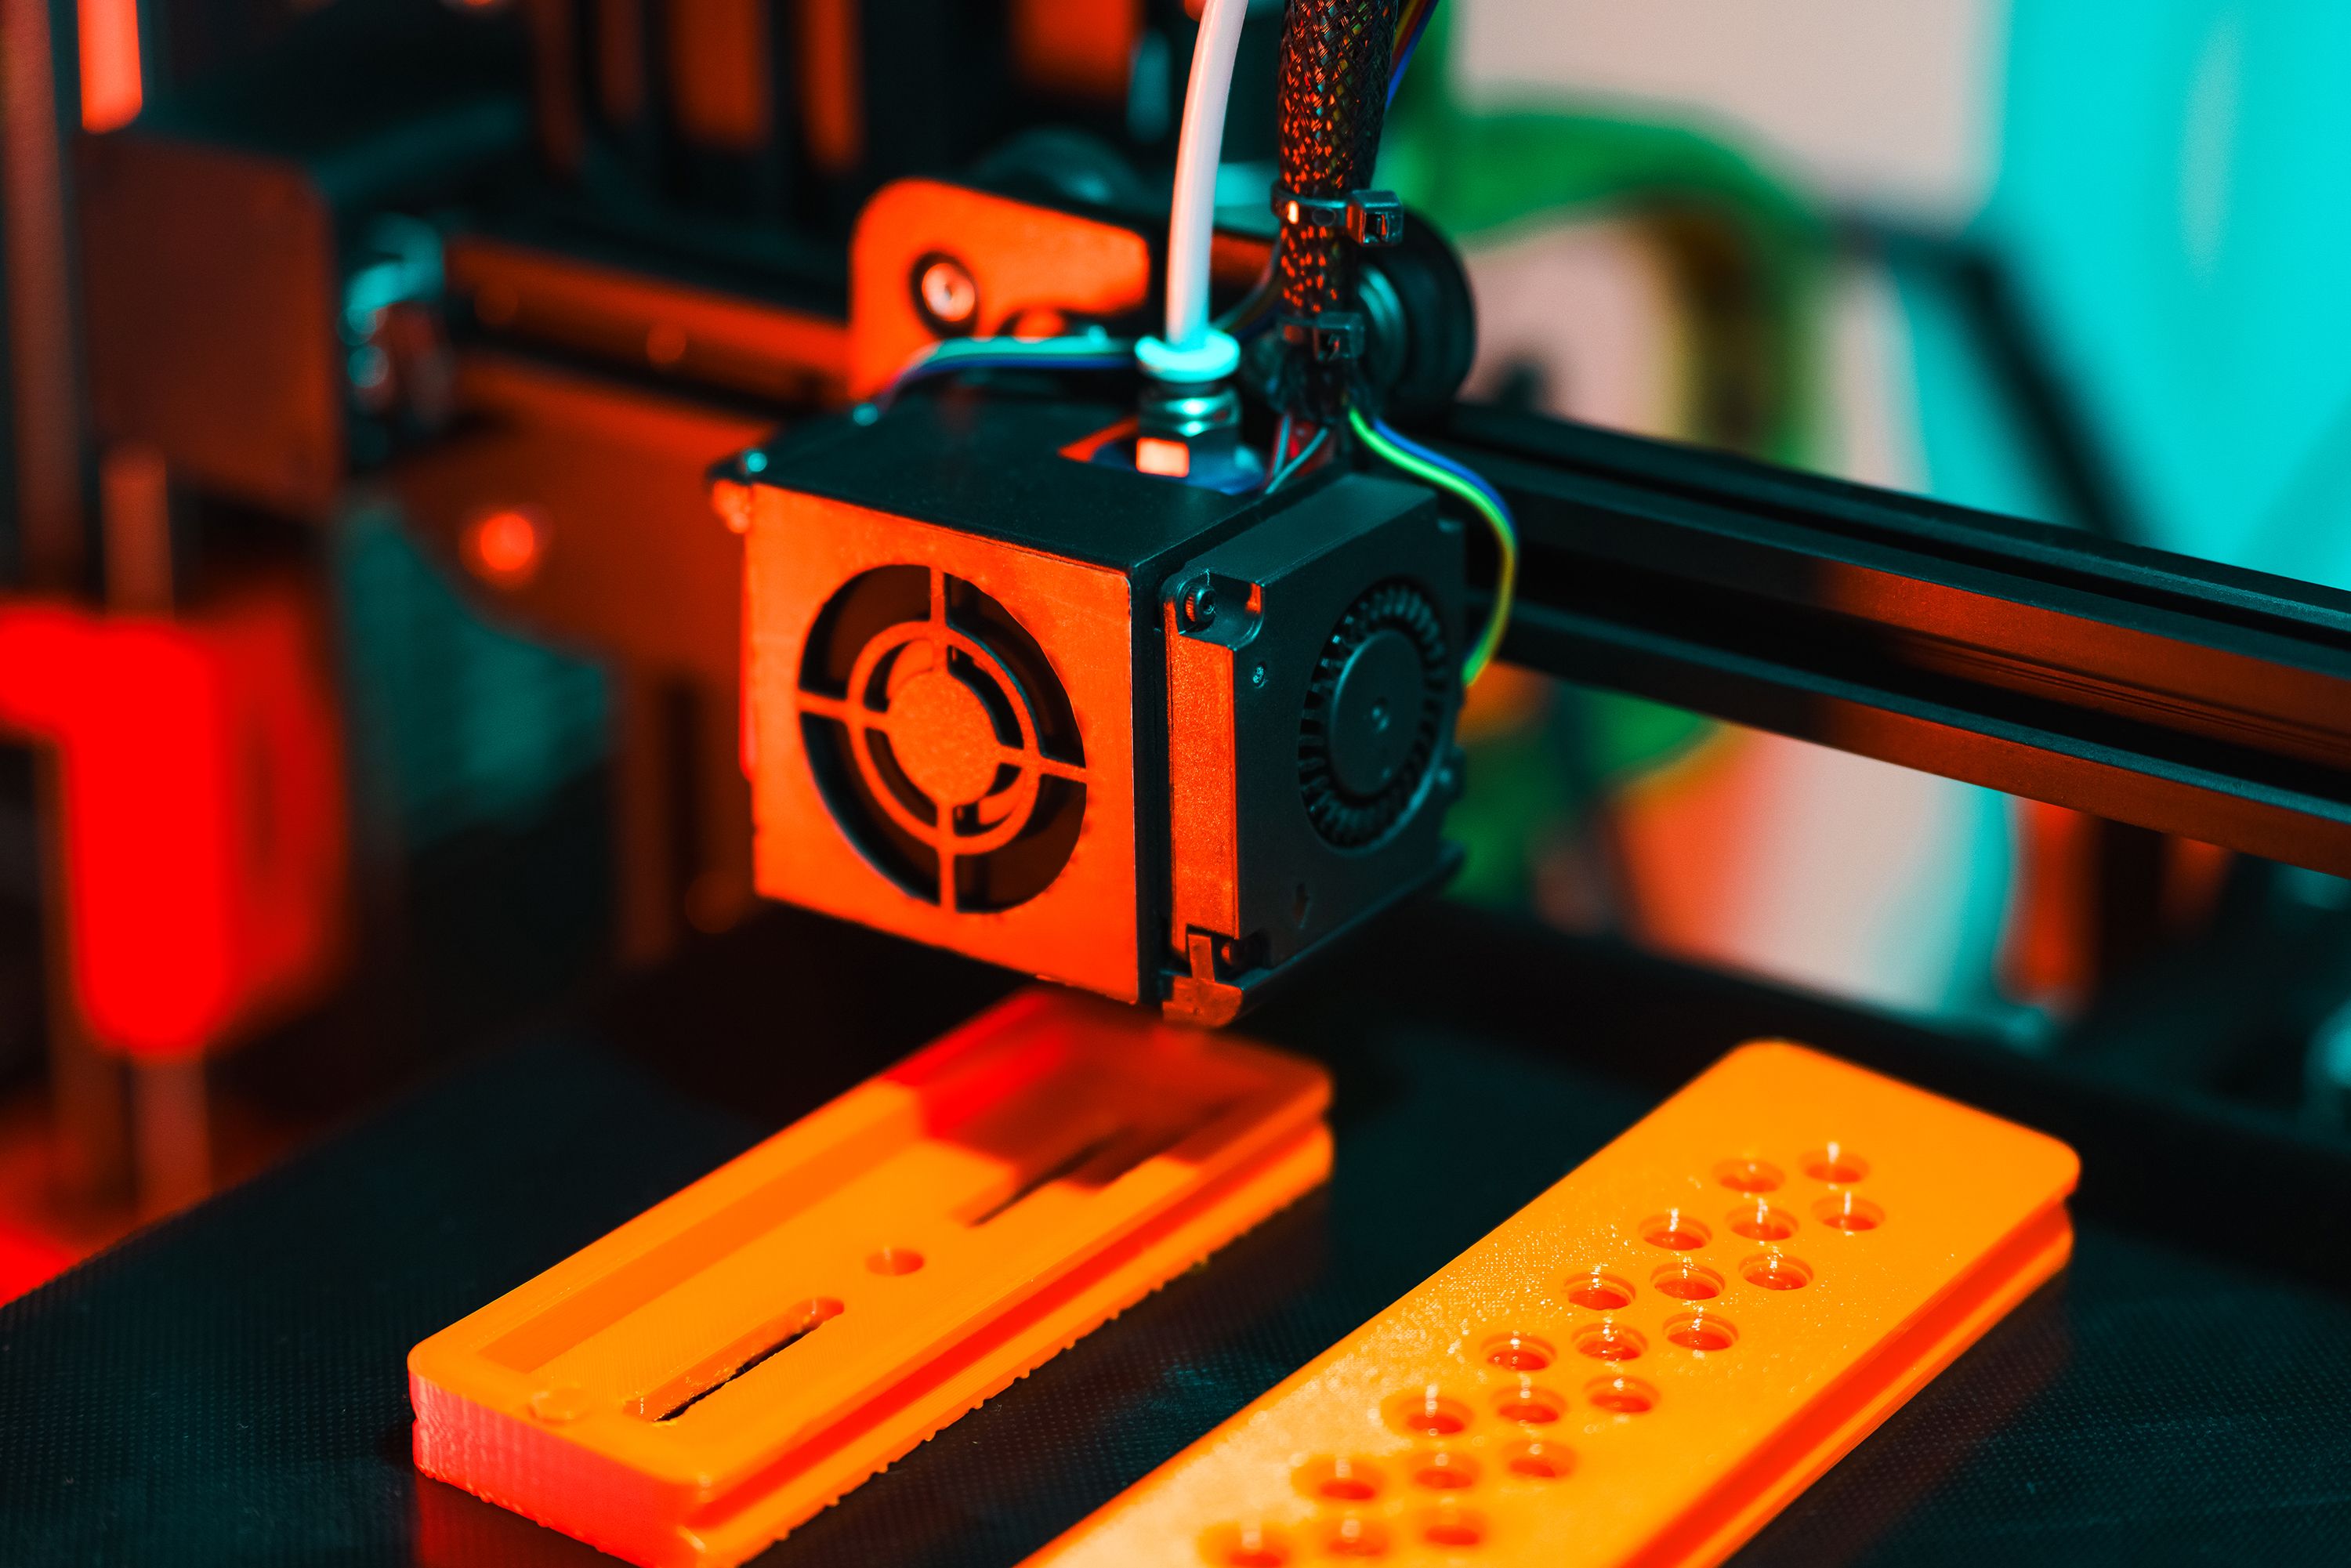
The next task is turning your measurements into a digital model.
FreeCAD is suitable for parts with precise dimensions, such as rectangular covers, brackets and clips. Blender can also create replacement objects, although parametric CAD software is generally easier for adjusting mechanical dimensions.
For the remote battery cover, begin by drawing a rectangle matching the measured length and width. Extrude the shape to the required thickness.
Add the retaining tabs, grooves and curved corners afterward.
Keep the first version simple. Decorative details can wait until the component fits correctly.
Step 4. Choose a Plastic That Matches the Job
The filament affects the strength, flexibility and heat resistance of the finished replacement.
PLA is popular because it prints easily and produces detailed shapes. However, it can soften under elevated temperatures and is relatively brittle.
For many functional clips and holders, PETG is worth considering. It offers greater toughness and improved heat resistance compared with ordinary PLA.
Always consider the temperatures the part may experience. Plastic positioned near a heat sink, internal power supply or other hot component requires additional evaluation.
A generic printed material must never be assumed to provide the same flame resistance, insulation or mechanical protection as a certified original part.
Step 5. Prepare the Model for 3D Printing
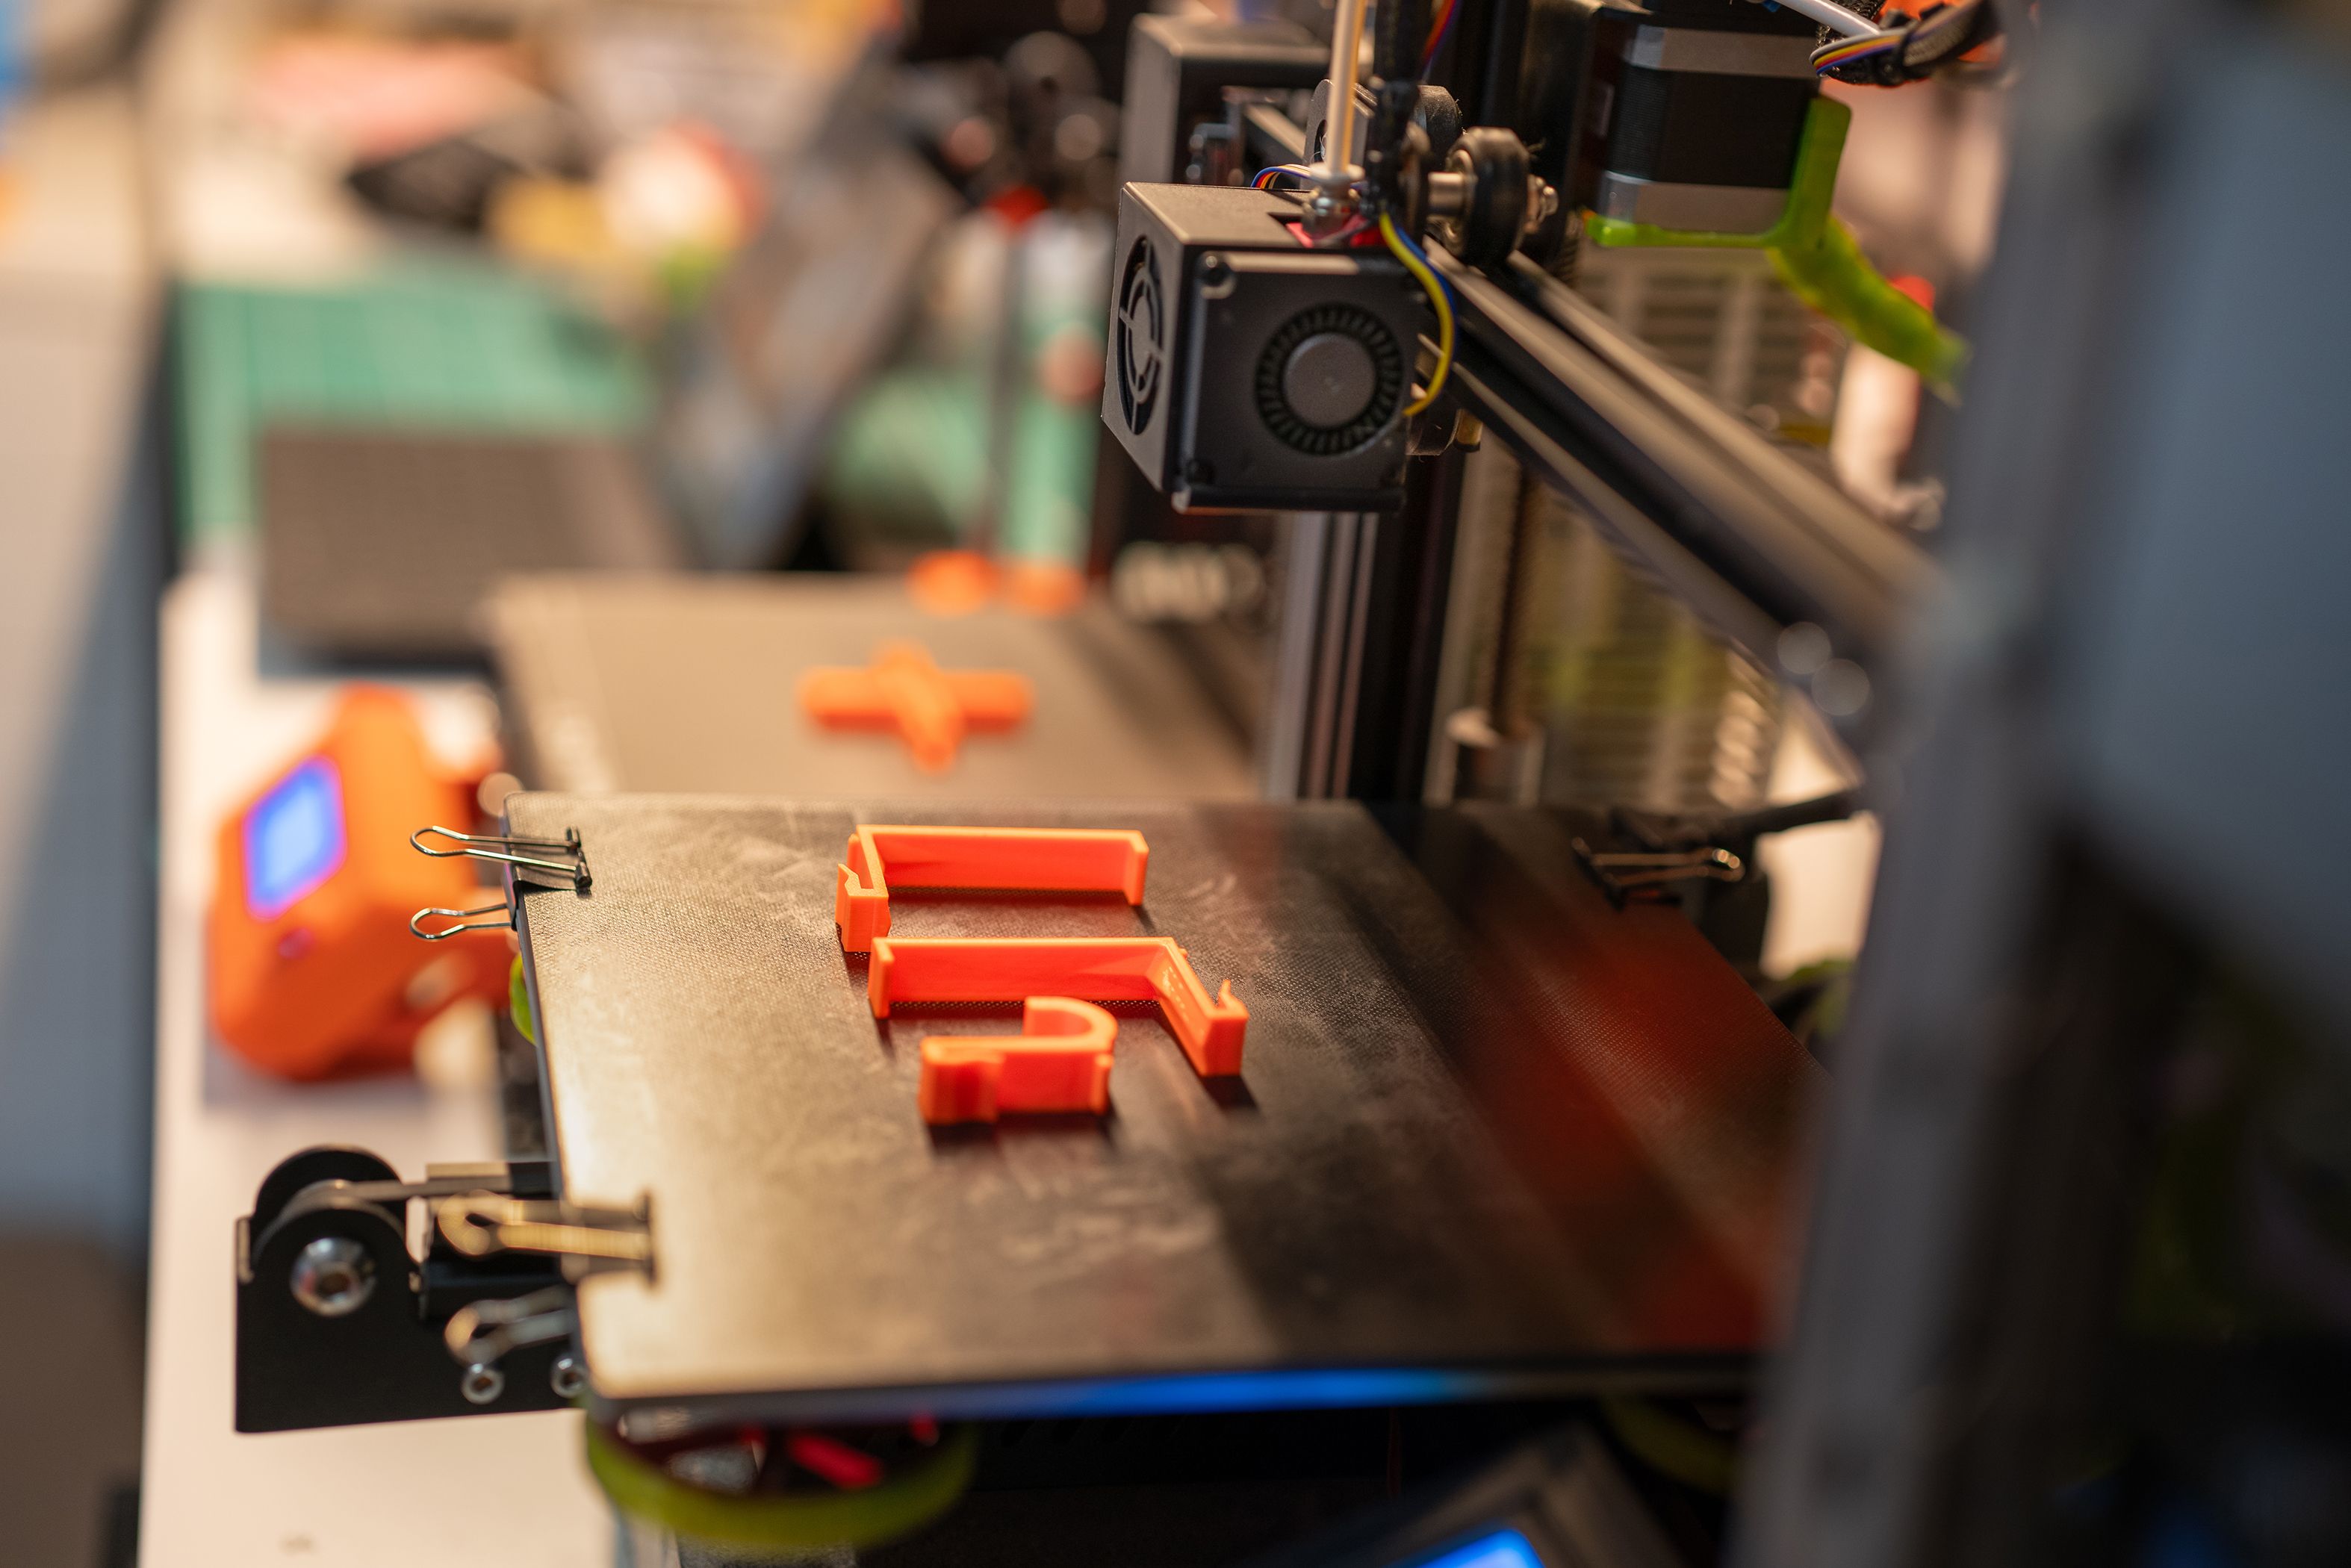
Once the model is complete, export it as an STL or another file format supported by your slicing software.
Open Cura or PrusaSlicer and select the correct printer profile. Check that the imported dimensions match the original design.
For a remote battery cover, placing the broad flat surface against the print bed may reduce the need for supports.
However, the direction of the printed layers also affects strength. A narrow retaining tab can break more easily if the applied force separates the layers.
Adjusting the orientation can make a significant difference, especially for parts that repeatedly snap into position.
Businesses and repair enthusiasts comparing 3D Printers for sale should consider material compatibility, print accuracy and build volume.
Small replacement parts rarely need an enormous build area, but printing functional components may require consistent temperature control and suitable filament support.
Before starting, use the slicer preview to check for missing walls, unsupported features and unexpectedly thin sections.
Step 6. Print a Test Piece Before the Final Replacement
A replacement does not need to look beautiful during the first attempt. Its initial purpose is to confirm the measurements.
For the battery cover example, print the basic shape and attachment tabs before adding decorative details.
Allow the part to cool before removing it. Check the edges for excess material and carefully remove any required supports.
Test the fit without forcing the plastic into place.
If the cover is too tight, adjust its dimensions rather than pushing harder. Forcing an incorrectly sized clip can damage the original device.
If a tab breaks during installation, inspect its thickness and printing orientation. Increasing the overall infill percentage may accomplish very little if the tab itself is too thin or positioned poorly.
Step 7. Install the Replacement Without Damaging the Electronics
Turn off the device before beginning the repair. Unplug it and remove accessible batteries when the manufacturer instructions permit safe removal.
For devices requiring internal disassembly, consult the model-specific repair instructions. The iFixit safety guidance explains why electronics should be disconnected from power before opening them.
Some devices contain capacitors, internal batteries or other components that remain hazardous after power is disconnected. Untrained users should not open those assemblies.
For a simple external battery cover, installation may involve sliding the new piece into position and checking that the retaining tabs engage correctly.
For an external camera stand, test the connection without placing the device in a location where failure could cause injury or damage.
Inspect the replacement after several uses. Cracks, deformation or loose attachment points indicate that the design or material needs improvement.
When Is Buying an Original Replacement Better?
3D printing can save an older device, but manufacturing a new component is not always the most economical choice.
An original replacement may already be available at a reasonable price. It may also fit better and provide material properties that are difficult to reproduce with consumer printing equipment.
Check the exact model number before investing time in designing a replacement.
Official repair services can be especially important for devices containing lithium batteries, high-voltage electronics or components that must meet specific safety requirements.
Samsung, for example, provides self-repair information for supported devices and warns that certain repairs require model-specific procedures and suitable replacement components.
Printing an external mounting bracket is a different undertaking than manufacturing a new battery compartment or replacing insulation around electrical connections.